DIY Cat Trees: Step-by-Step Guide to Building Your Own
Want to give your feline companion a space that is genuinely their own? A DIY cat tree is one of the most satisfying weekend projects a pet owner can take on. This DIY cat tree gives your cat a dedicated spot to scratch, climb, perch, and nap, and it does all of that without the eye-watering price tag of a store-bought tower.
Building a DIY cat tree also hands you full creative control. You decide the height, the number of platforms, the colors, and the materials, so the finished piece fits both your cat’s personality and your home’s style. In this guide, you’ll learn exactly how to plan, build, and finish your own cat tree from scratch, plus the extra details most tutorials skip.
Why Build a DIY Cat Tree Instead of Buying One?
Before reaching for the saw, it helps to know why a homemade tower is worth the effort. The advantages go well beyond saving money.
- Cost savings. A quality commercial tower can cost a small fortune, while a DIY cat tree can often be built for a fraction of that using reclaimed wood and offcuts.
- Full customization. You can tailor the layout to your cat’s age, weight, and habits. Senior cats appreciate lower steps, while energetic kittens love tall climbing routes.
- Better materials. Many mass-produced towers use thin particleboard. When you build it yourself, you control the quality and durability of every part.
- A rewarding project. There is real pride in watching your cat claim a perch on a DIY cat tree you built with your own hands.
A well-made DIY cat tree can last for years, which makes the upfront effort pay off many times over.
Materials Needed for Your DIY Cat Tree
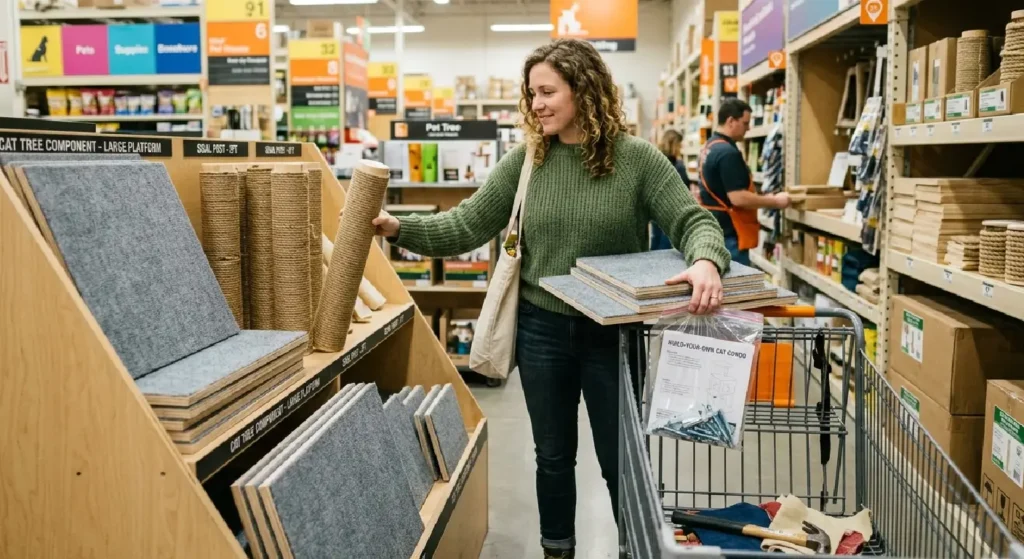
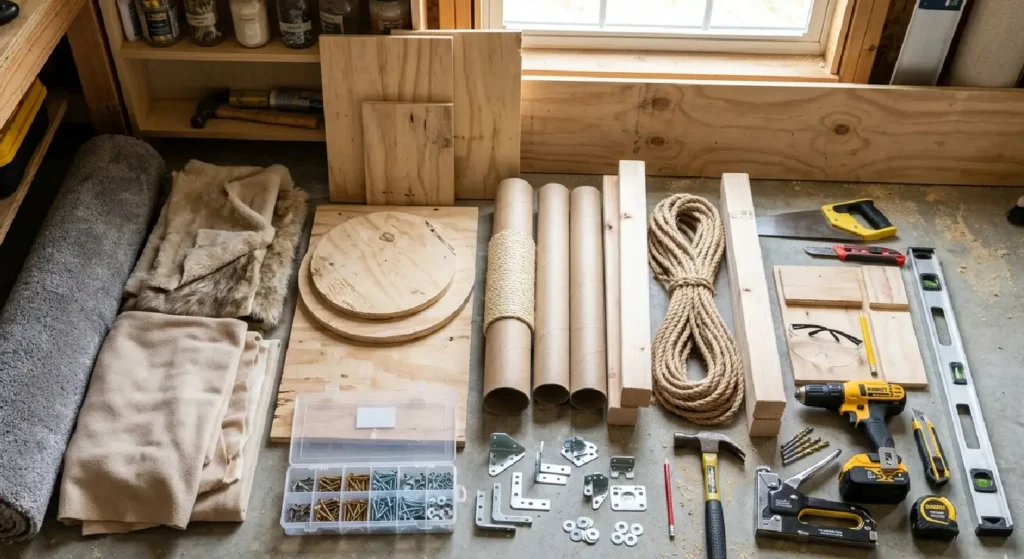
Gather everything before you begin so the build flows smoothly. Here is the core shopping list for a sturdy DIY cat tree:
- Wooden posts (for the main support columns)
- Plywood or MDF boards (for the base and platforms)
- Sisal rope (for the scratching surfaces)
- Carpet remnants or faux fur (for soft, grippable covering)
- Wood screws of varying lengths
- A drill with bits
- A handsaw or circular saw
- A staple gun with staples
- Cushions, blankets, or fleece for the resting areas
Choosing the Right Wood
Not all boards are equal. For the base of your DIY cat tree, choose a thick, heavy material such as 18mm plywood, because a wide and weighty base is what stops the whole DIY cat tree from tipping. For the posts, solid timber or sturdy cardboard tubing both work well. Avoid anything flimsy, since cats launch onto these surfaces at full speed.
Tools Checklist
You do not need a professional workshop to build a DIY cat tree. A basic toolkit covers almost every step:
- Cordless drill and driver bits
- Saw (hand or power)
- Tape measure and pencil
- Sandpaper or a sanding block
- Staple gun
- Safety glasses and work gloves
Borrowing tools from a friend or a local tool library keeps your DIY cat tree budget even lower.
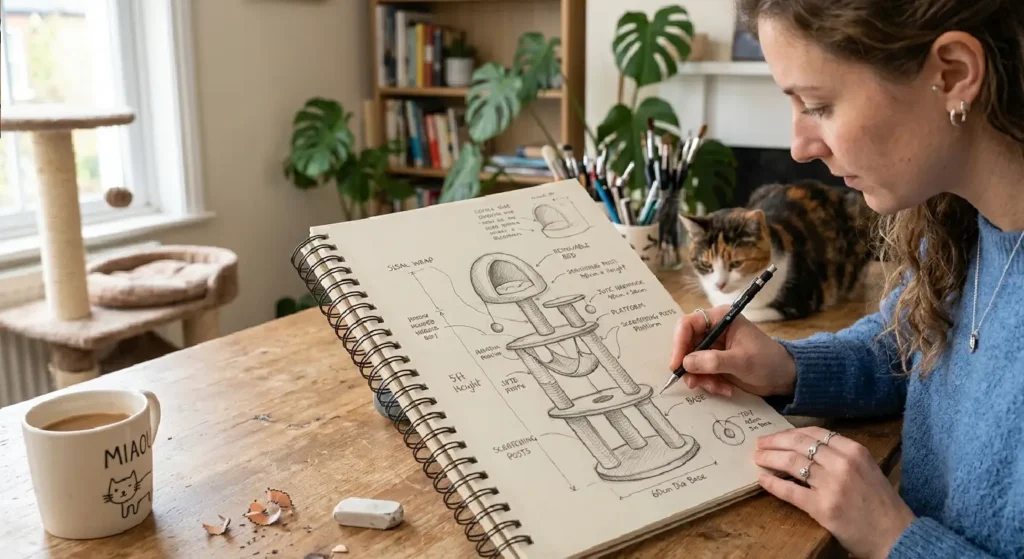
Step 1: Plan and Sketch Your Design
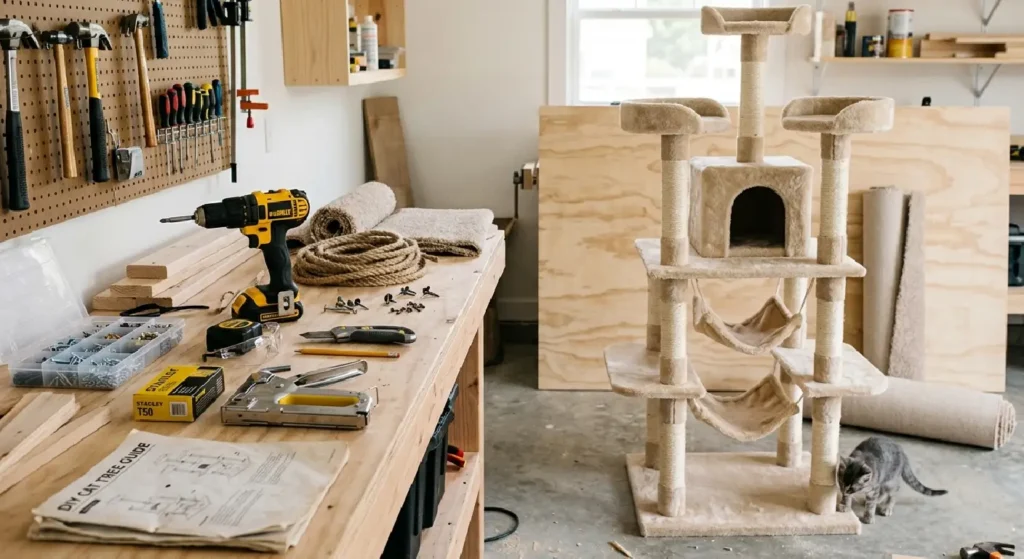
Every successful DIY cat tree starts on paper. Sketch a rough layout and think about your cat’s preferences: Does she love to climb high, or does she prefer cozy ground-level caves? Map out the number of platforms on your DIY cat tree, the placement of scratching posts, and any hiding spots.
Measure the corner or wall where the tree will live, and design within those dimensions so the finished piece fits comfortably without crowding the room.
Step 2: Cut the Wood to Size
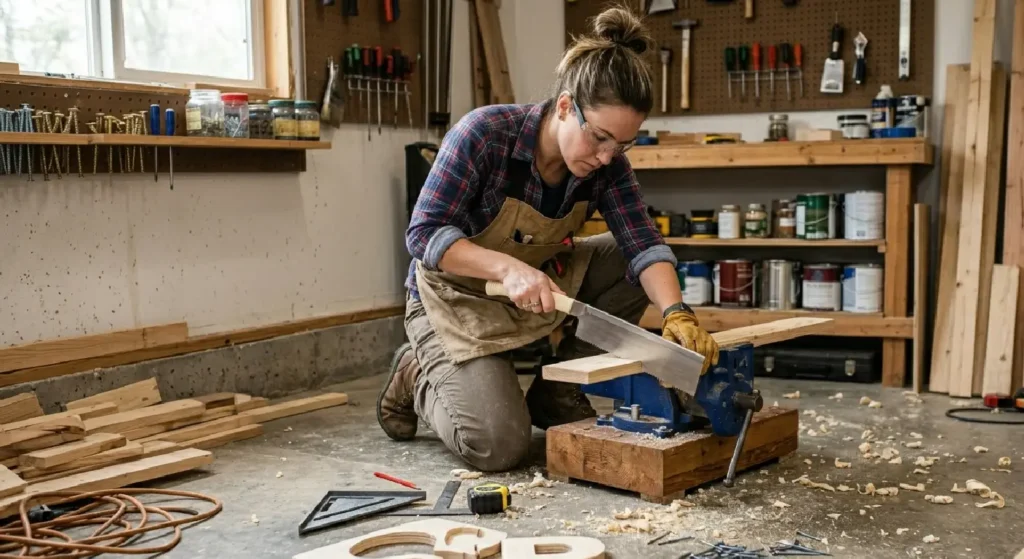
Using your saw, cut the posts and boards to the sizes from your sketch. The posts become the vertical supports, and the boards become the platforms and base. Sand every edge until it is smooth, because rough cuts can catch claws and cause splinters. Taking your time here makes the rest of the DIY cat tree build far easier.
Step 3: Build a Sturdy Base
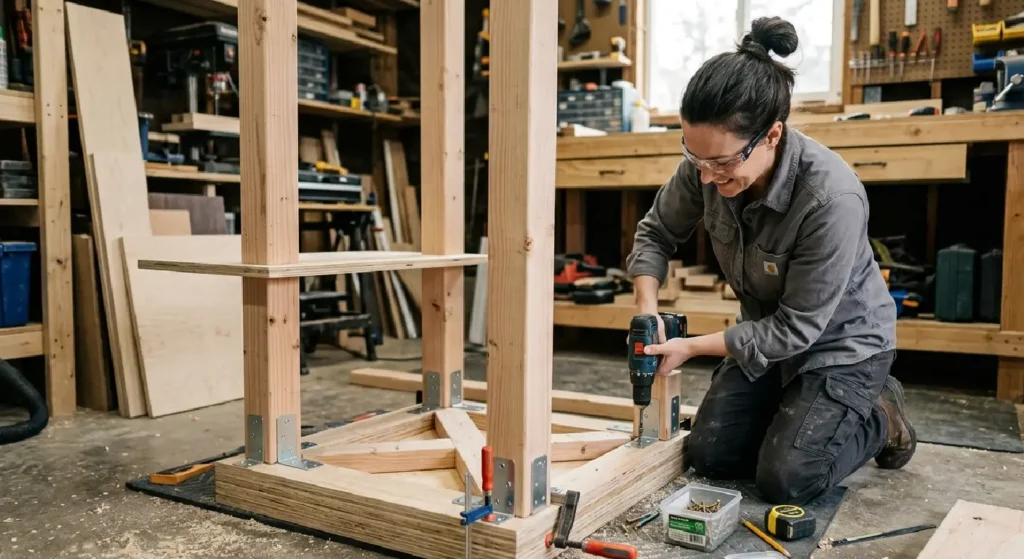
The base is the single most important part of any DIY cat tree. Attach the posts to the plywood or MDF base using screws driven up from underneath. Make the base wider than you think you need to; a broad footprint keeps the tower stable even when your cat leaps onto the top perch. Test the DIY cat tree by pushing firmly from several angles before moving on.
Step 4: Add the Scratching Posts
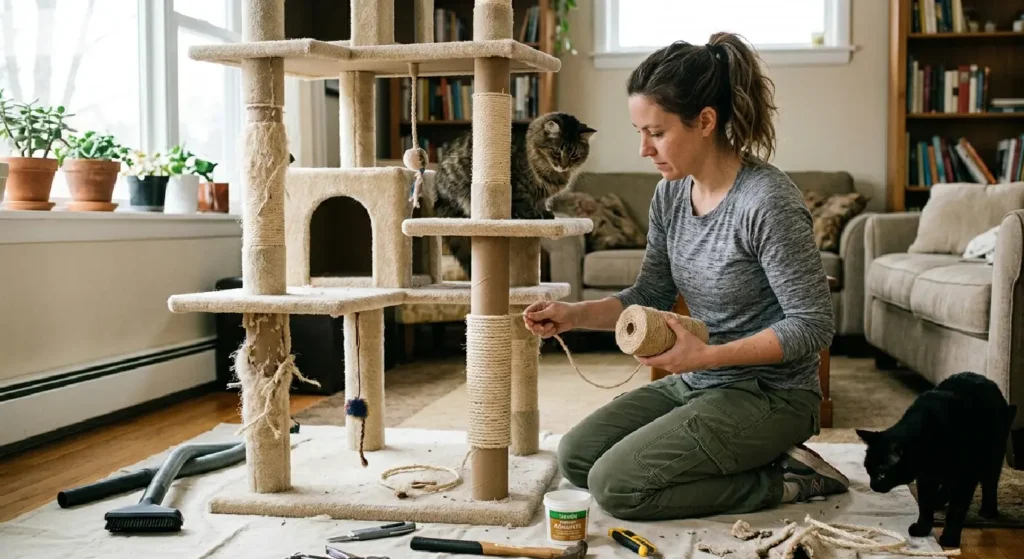
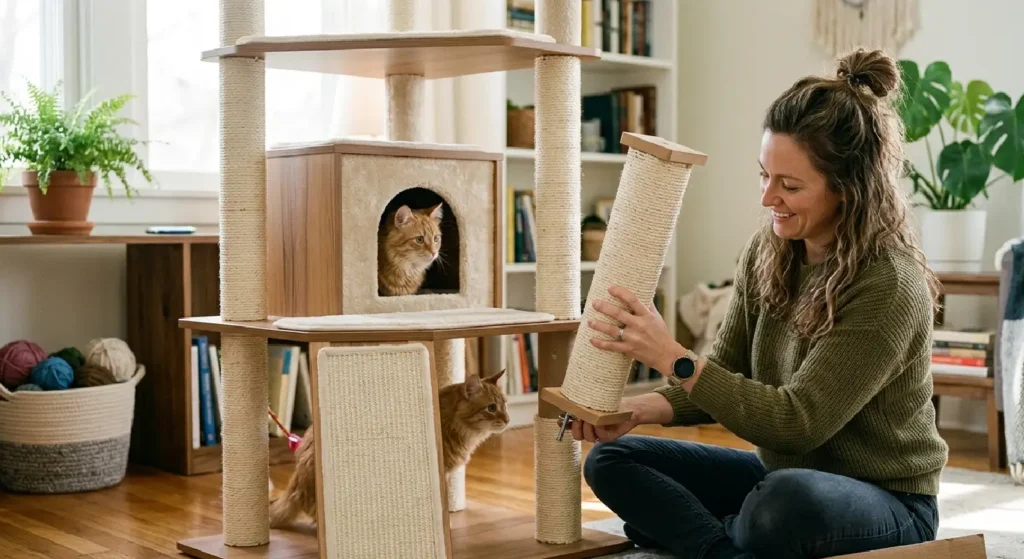
Wrap the wooden posts tightly with sisal rope to create irresistible scratching surfaces. Start at the bottom, secure the rope end with a staple or hot glue, and wind upward with firm, even tension so there are no gaps. Cats scratch to maintain their claws and mark territory, so a well-wrapped post is the feature that protects your sofa. This is often a cat’s favorite part of the whole DIY cat tree.
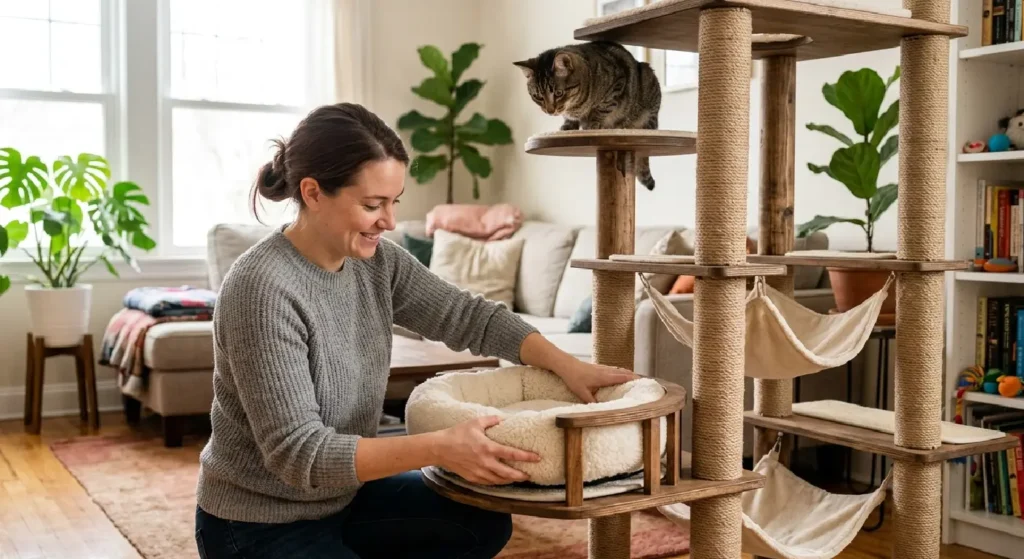
Step 5: Cover and Cushion the Platforms
Attach carpet or faux fur to each platform with your staple gun, folding the material neatly around the edges for a clean finish. These covered platforms on your DIY cat tree give your cat grip and comfort. Add a cushion, a folded blanket, or a fleece pad to the top perches to turn them into prime napping real estate.
Step 6: Add Fun Accessories
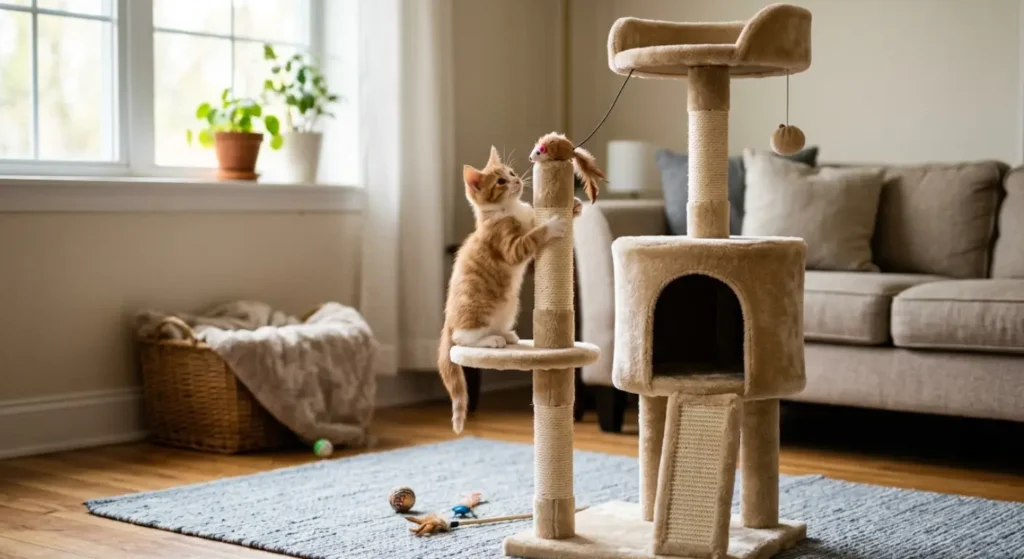
Now bring your DIY cat tree to life. Hang a feather toy or a small bell from an upper platform, add a dangling pom-pom, or build in an enclosed box or fabric tunnel as a hideaway. Interactive touches keep your cat engaged and encourage active play rather than just lounging.
Step 7: Position and Secure the Finished Tree
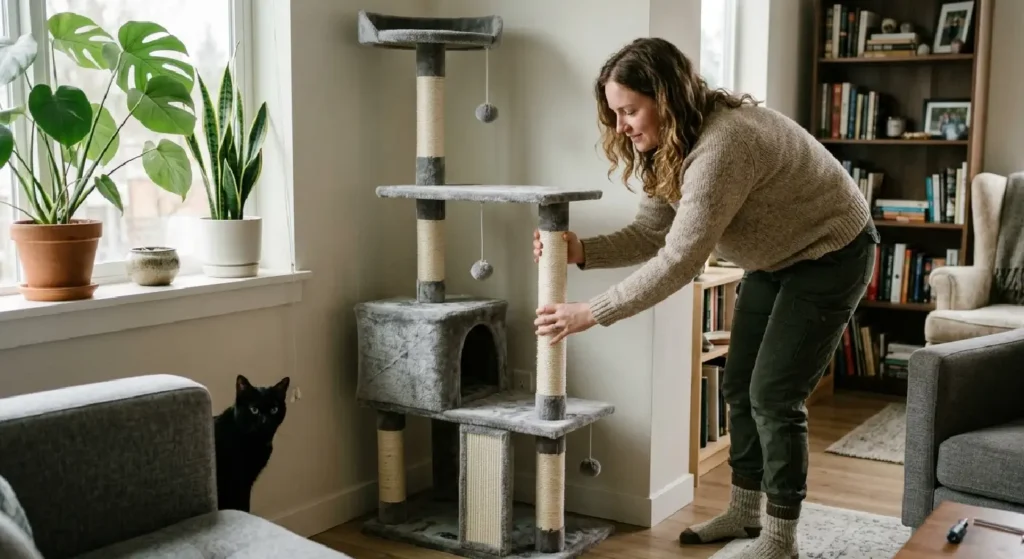
Place your completed DIY cat tree in a stable, accessible spot, ideally near a window so your cat can watch the world go by. For tall builds, anchor the top of your DIY cat tree to the wall with an L-bracket for extra safety. Keep it clear of fragile furniture or anything that could topple if your cat makes an enthusiastic jump.
How to Maintain and Clean Your Cat Tree
A little upkeep keeps your DIY cat tree looking fresh and lasting longer. Vacuum the carpeted areas weekly to remove fur and dander. Spot-clean stains with a pet-safe cleaner, and replace the sisal rope on the scratching posts when it becomes frayed or worn through. Washable cushion covers make refreshing your DIY cat tree quick and easy.
Budget Breakdown: What Does a DIY Cat Tree Really Cost?
One of the biggest draws of a DIY cat tree is affordability. Reclaimed wood, carpet offcuts, and a single roll of sisal rope can keep the total well below the cost of a comparable commercial tower. If you already own the basic tools, the DIY cat tree materials are the only real expense, and using salvaged items can bring your spend down to almost nothing.
Design Ideas for Small Spaces
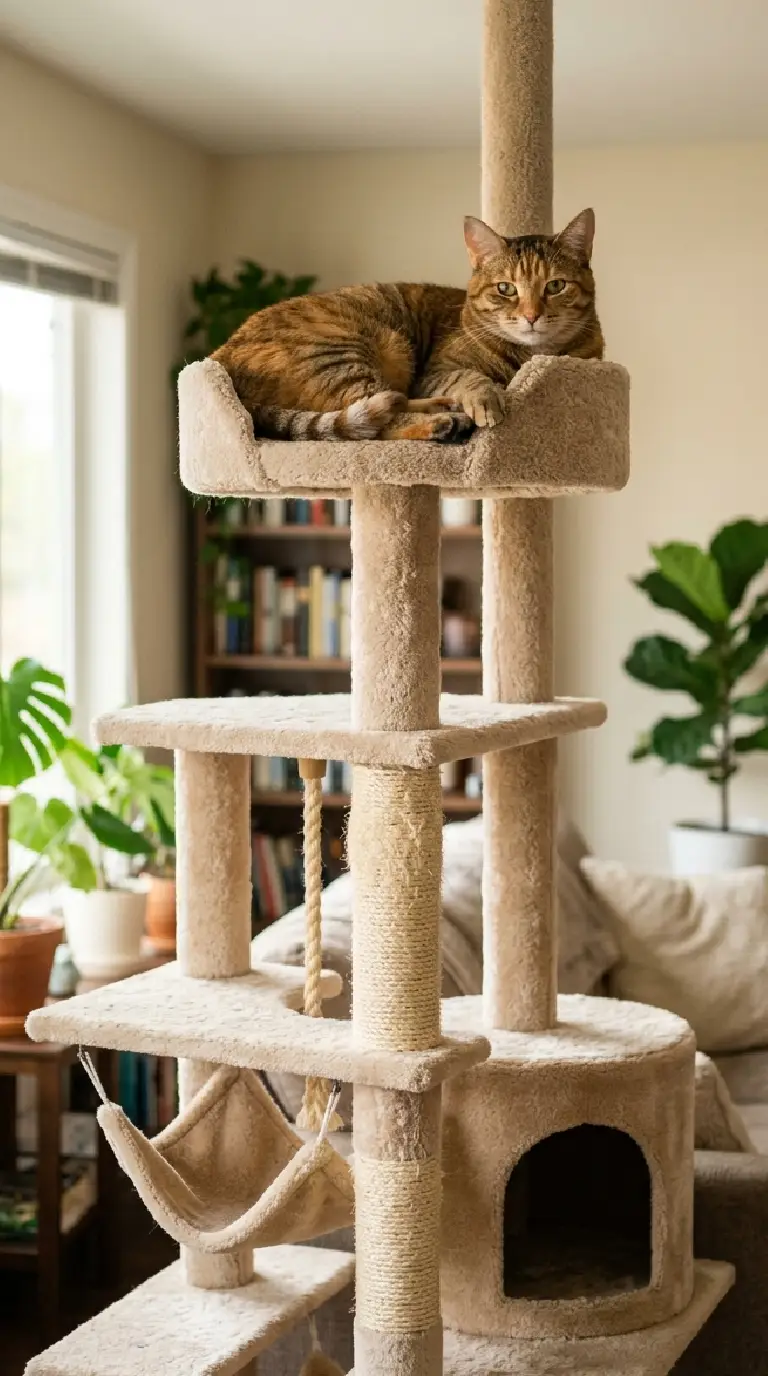
Short on floor space? A DIY cat tree does not have to be enormous. A slim corner DIY cat tree with stacked platforms gives vertical climbing without taking up the room. Wall-mounted shelves paired with a compact base create a “cat highway” that hugs the wall. Even a single tall post with one cozy perch on top makes a satisfying, space-smart project.
Conclusion
Building a DIY cat tree is a genuinely rewarding project that pays off in both savings and the joy your cat gets from it. By planning carefully, choosing solid materials, and adding the scratching posts, perches, and hiding spots your cat loves, you create something far more personal than anything off a shelf. Follow the steps above, take your time on the base and the safety details, and your cat will reward you with hours of climbing, scratching, and contented napping on a perch you built yourself.
Frequently Asked Questions
1. How much does it cost to build a DIY cat tree?
A DIY cat tree can cost anywhere from almost nothing to a moderate amount, depending on your materials. Using reclaimed wood, carpet offcuts, and a single roll of sisal rope keeps the price far below most store-bought towers, especially if you already own the basic tools.
2. What wood is best for a DIY cat tree?
Thick plywood (around 18mm) is ideal for the base and platforms because it is strong and stable. Solid timber or heavy cardboard tubing works well for the vertical posts. Avoid thin particleboard, which can crack under an active cat’s weight.
3. How tall should a cat tree be?
There is no single right answer, but most cats enjoy a tree between four and six feet tall. Taller builds satisfy a cat’s love of height, while shorter ones suit kittens and senior cats. Whatever the height, a wide base is essential for a stable DIY cat tree.
4. What can I use instead of sisal rope?
If you don’t have sisal rope, sisal fabric, jute rope, or even tightly woven carpet can serve as a scratching surface. Sisal remains the most durable and cat-approved option for a DIY cat tree, but the alternatives work in a pinch.
5. How do I keep my DIY cat tree from tipping over?
Build a base that is wider and heavier than the upper structure, and keep heavier elements low. For tall towers, anchor the top to the wall with an L-bracket. Always test stability by pushing from several angles before letting your cat use it.
6. Is it cheaper to build or buy a cat tree?
Building is almost always cheaper, particularly if you use reclaimed materials and already own tools. A DIY cat tree also lets you control quality, so you often get a sturdier result than a budget commercial tower for less money.
7. How long does it take to build a DIY cat tree?
A simple DIY cat tree can be built in an afternoon, while a multi-level tower with several posts and platforms may take a full weekend. Allowing glue and finishes to dry between steps is the part that takes the most patience.
8. Will my cat actually use the tree I build?
Most cats take to a new DIY cat tree quickly, especially when it is placed near a window and topped with a cozy cushion. Rubbing a little catnip on the platforms or hanging a favorite toy can encourage a hesitant cat to explore it.
9. How do I clean a DIY cat tree?
Vacuum the carpeted surfaces weekly, spot-clean stains with a pet-safe cleaner, and use washable covers on the cushions. Replace the sisal rope on the scratching posts once it becomes frayed to keep the tree looking and working its best.
10. Can I build a DIY cat tree if I'm not handy?
Absolutely. A basic DIY cat tree requires only simple cutting, drilling, and stapling. If power tools feel intimidating, you can build a no-cut DIY cat tree using a sturdy stool or shelf as the base and focusing on wrapping posts and adding soft perches.