DIY Scratching Posts: How to Make One at Home
If you share your home with a cat, you already know that scratching is non-negotiable for them. A good scratching surface satisfies their natural instincts, keeps their claws in great shape, and saves your couch from becoming a casualty. You could grab one off the shelf at a pet store, but building a DIY scratching post is cheaper, surprisingly simple, and a lot more fun. In this guide, you’ll learn how to make a sturdy, attractive DIY scratching post at home using affordable materials and a few basic tools.
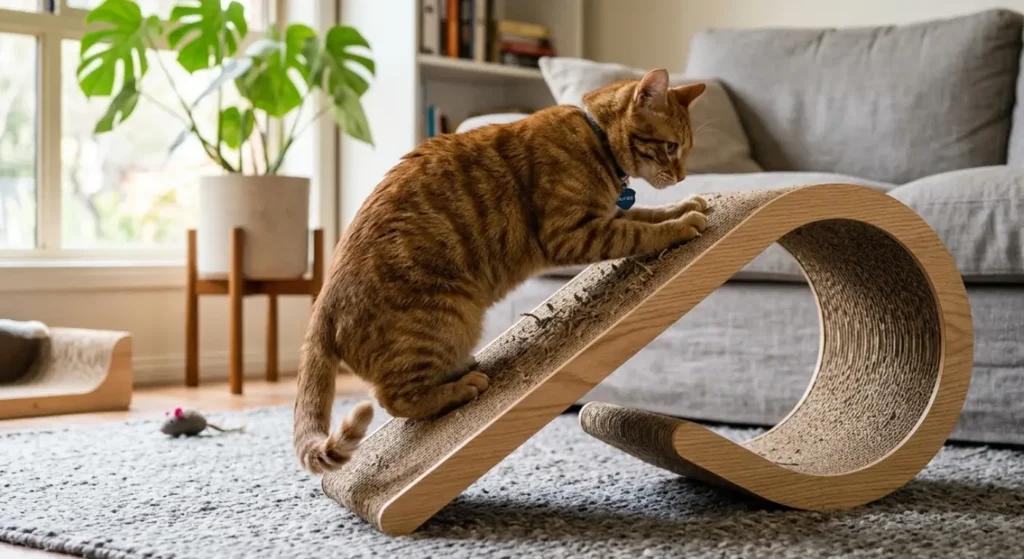
Why Cats Need to Scratch in the First Place
Before we dive into building a DIY scratching post, it helps to understand why scratching matters so much. Scratching isn’t bad behavior; it’s hardwired into your cat. When a cat drags its claws across a surface, it sheds the dead outer layer of the nail, stretches the muscles in its back and shoulders, and marks territory using scent glands in the paws. Give your cat an appealing place to do this, and you redirect that energy away from your furniture. That’s exactly the problem a well-built DIY scratching post solves.
A cat without a proper outlet will improvise, usually on the most expensive thing in the room. So think of a DIY scratching post less as a luxury and more as essential furniture protection that happens to make your cat very happy.
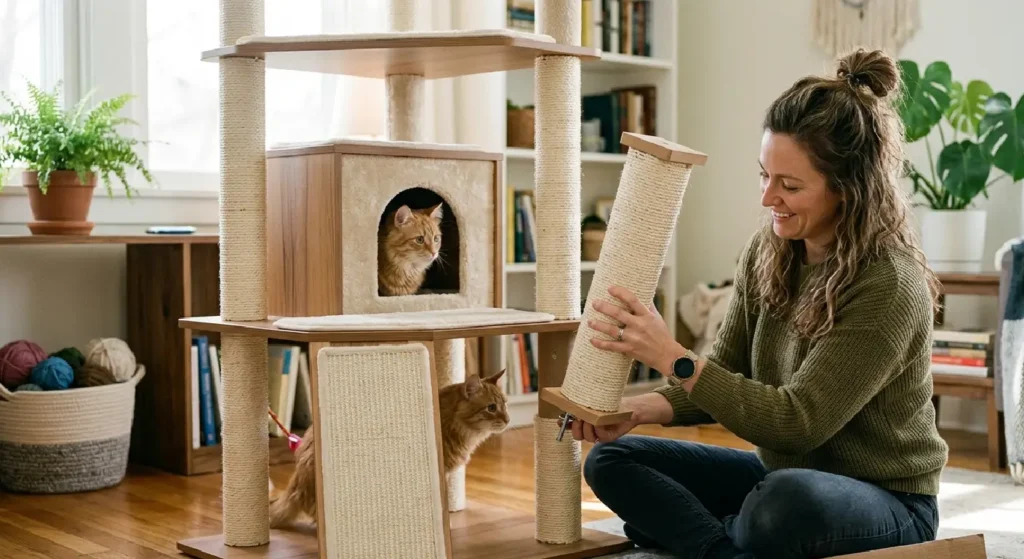
The Benefits of Building a DIY Scratching Post
Making your own DIY scratching post offers several advantages over buying one:
- Cost-effective: Store-bought options can be pricey. A DIY scratching post can be built for a fraction of the cost using materials you may already own.
- Customizable: When you build it yourself, you control the height, thickness, and look so it fits both your cat’s preferences and your decor.
- Higher quality: You choose durable materials, so your DIY scratching post can outlast many commercial versions.
- Rewarding: There’s real satisfaction in watching your cat enjoy something you made with your own hands.
Materials Needed for Your DIY Scratching Post
Gather these supplies before you begin:
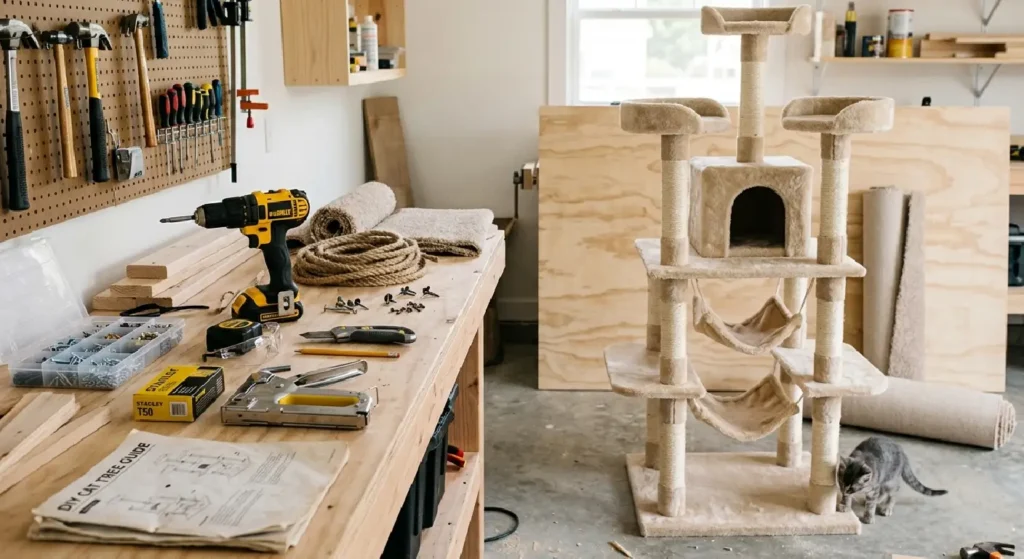
- A wooden post (a fence post, a thick wooden dowel, or a 4×4 offcut all work well)
- A sturdy base board (plywood, around 16 x 16 inches, works great)
- Sisal rope (cat-safe and specifically sold for scratching surfaces)
- A hot glue gun and glue sticks, or a staple gun
- Wood screws and a screwdriver or drill
- Scissors or a utility knife
- Sandpaper
- Optional: decorative fabric, carpet squares, or a remnant to dress up the base
A quick note on rope: sisal is the gold standard because it’s tough, natural, and exactly the texture cats crave. Avoid jute as a substitute, as it frays far faster and won’t hold up to daily clawing.
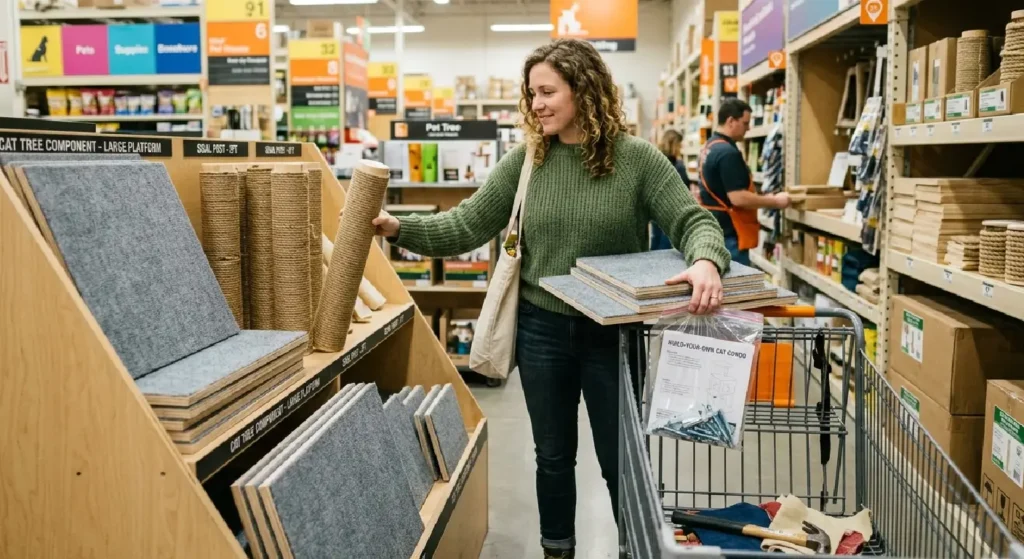
Step-by-Step Instructions to Build a DIY Scratching Post
By building your own custom furniture, you can guarantee it is tall enough and stable enough for your pet. In this step-by-step tutorial, we will show you exactly how to make a durable DIY scratching post that looks great and stands up to aggressive scratching.
Step 1: Prepare and Mount the Wooden Post
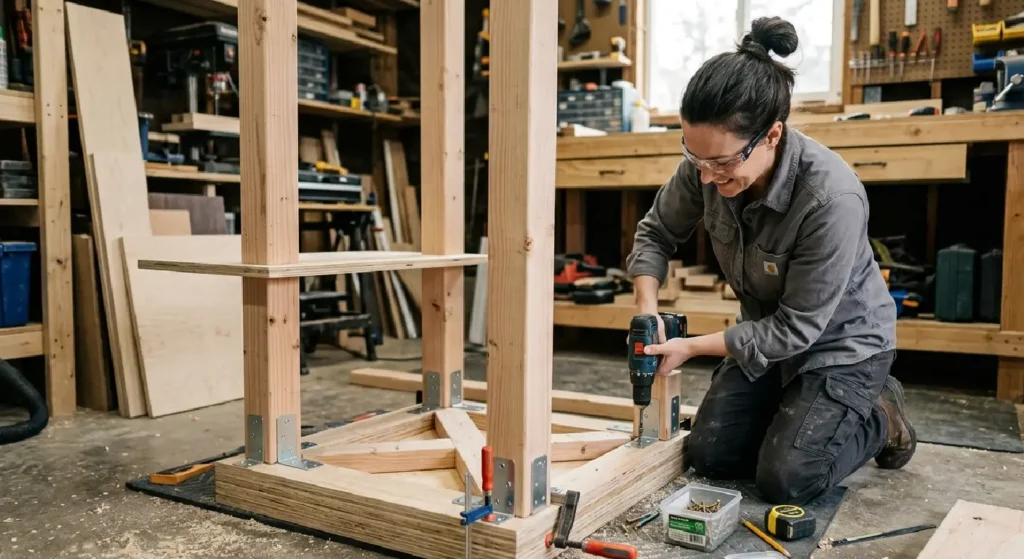
Cut your wooden post to height. A reliable rule is to make the DIY scratching post slightly taller than your cat at full stretch, which usually lands somewhere between 24 and 32 inches. Sand all the edges smooth so nothing snags your cat’s claws. Then center the post on your base board and fix it firmly from underneath using wood screws. A wide, heavy base is what keeps the whole thing from tipping, so don’t skip this step.
Step 2: Wrap the Sisal Rope
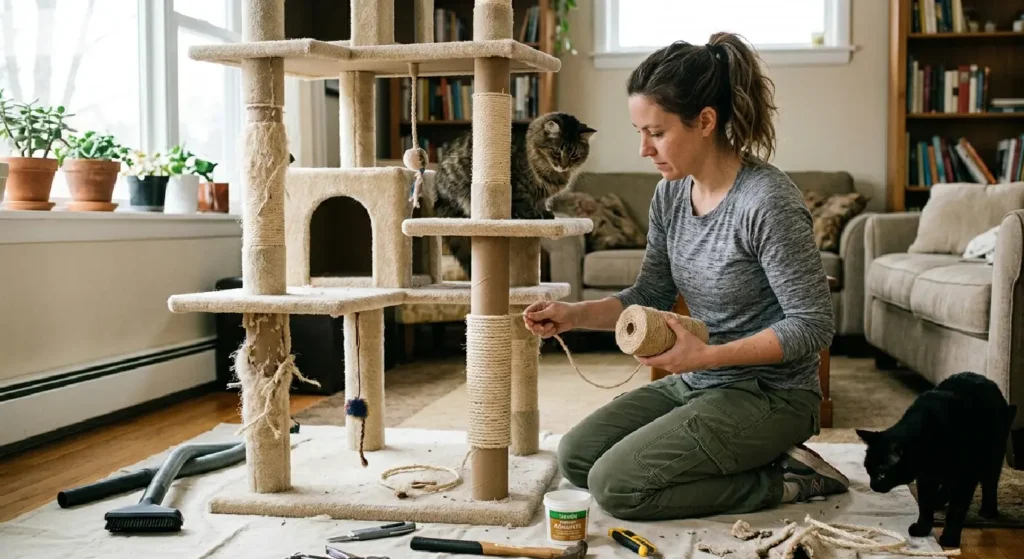
Starting at the bottom of the post, secure the end of the sisal rope with a generous dab of hot glue. Wrap the rope tightly around the post, pressing each loop snugly against the one before so there are no gaps. Add a dab of glue every few inches to lock everything in place. Keep the tension consistent all the way up. When you reach the top, trim the rope and glue down the final end. A tightly wrapped DIY scratching post lasts longer and feels better under your cat’s paws.
Step 3: Cover the Base (Optional)
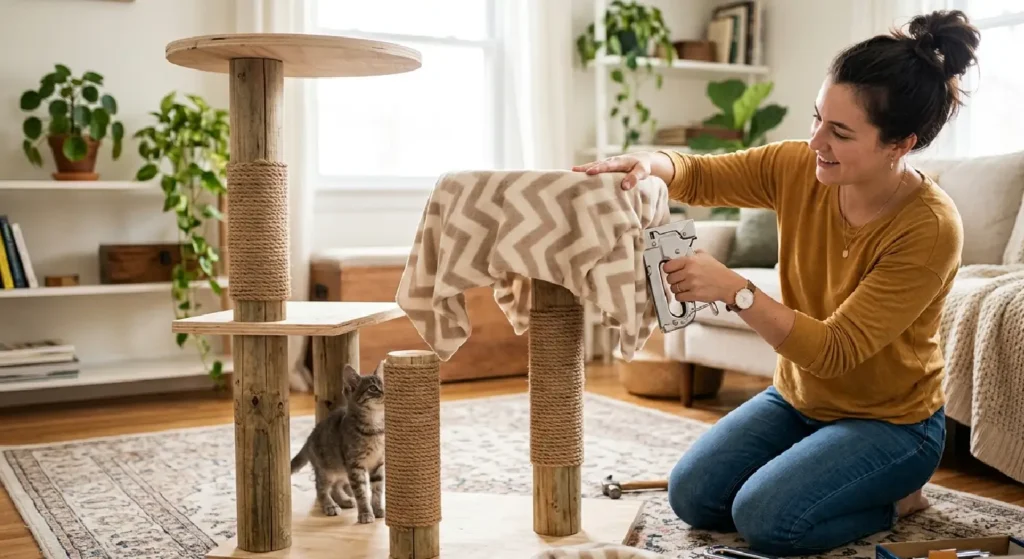
If you’d like to finish the look, wrap the base in fabric, carpet, or a leftover remnant and secure it with glue or staples. This step is purely cosmetic, but it helps your DIY scratching post blend into the room instead of looking like a workshop project.
Different Types of DIY Scratching Posts to Try
Not every cat likes the same thing, so consider which style suits yours. This is the beauty of going the DIY scratching post route: you can match the design to your cat’s habits.
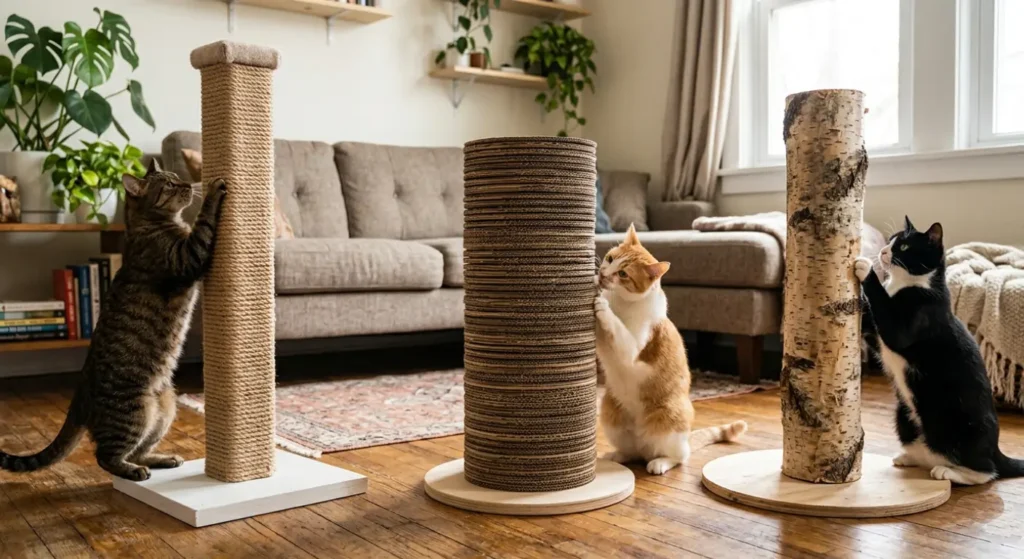
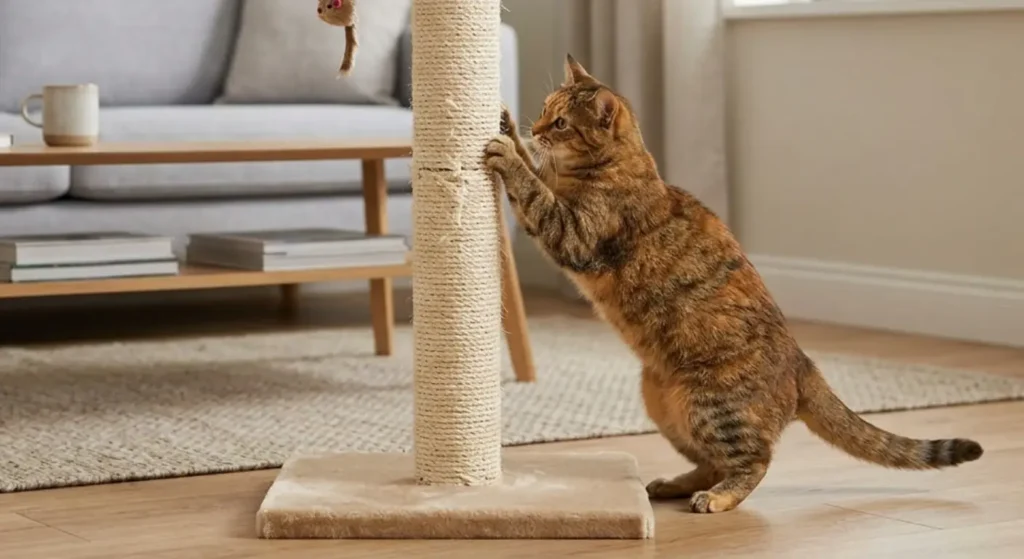
- Vertical post: The classic upright build described above. Best for cats that stretch tall to scratch.
- Horizontal scratcher: A flat board wrapped in sisal or layered with corrugated cardboard. Ideal for cats that scratch the floor or carpet.
- Angled or incline scratcher: A leaning board that gives cats the diagonal surface many of them prefer.
- Wall-mounted scratcher: A sisal-wrapped board fixed to the wall, perfect for small apartments where floor space is tight.
- Cardboard scratcher: Stacked, glued layers of corrugated cardboard make a budget DIY scratching post that’s almost free.
Watch how your cat already scratches, then build the version that matches. A cat that claws the carpet will likely ignore a tall DIY scratching post but love a horizontal one.
How to Train Your Cat to Use the New Scratching Post
Building your DIY scratching post is only half the job; your cat has to actually use it. Luckily, cats take to a good DIY scratching post quickly with a little encouragement.
- Place the post where your cat already scratches, or near a favorite sleeping or window spot, since cats love to stretch right after a nap.
- Rub a little catnip into the sisal, or attach a dangling toy to draw attention to it.
- Reward your cat with praise or a treat the moment they use it.
- Never force your cat’s paws onto the post, as this creates a negative association.
- If your cat keeps targeting the couch, place the DIY scratching post directly in front of that spot, then slowly move it over a couple of weeks.
DIY Scratching Post Maintenance: When to Refresh or Replace
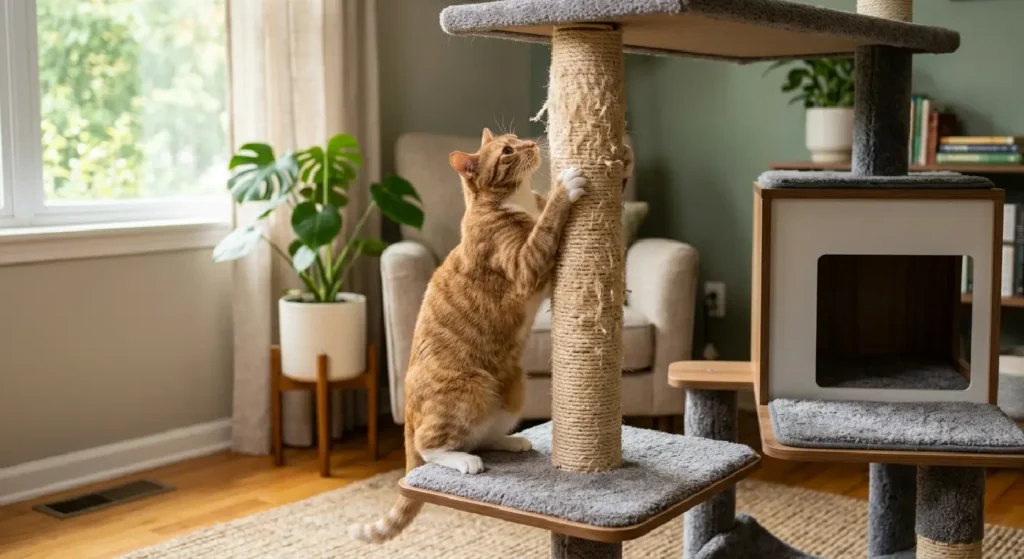
One underrated perk of a DIY scratching post is how easy it is to repair. When the sisal eventually wears thin, you don’t toss the whole thing. Just snip off the old rope and re-wrap the post with fresh sisal. Check the base screws every few months and tighten them if the DIY scratching post wobbles. With this kind of upkeep, a single DIY scratching post can serve your cat for years.
DIY Scratching Post Safety Considerations
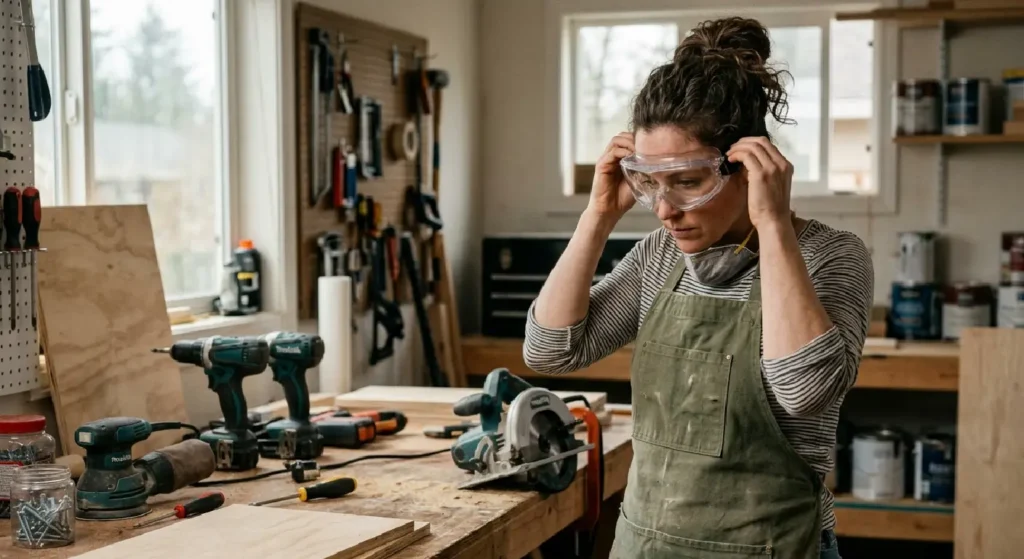
A homemade build means you’re responsible for safety. Keep these points in mind:
- Use only non-toxic glue and natural, cat-safe sisal.
- Make sure no staples or screw tips are exposed where paws can reach them.
- Confirm the base is heavy and wide enough that the post can’t topple onto your cat.
- Sand away any splinters before wrapping.
A well-made DIY scratching post should be every bit as safe as a store-bought one, and often sturdier.
Common DIY Scratching Post Mistakes to Avoid
Even an easy project has a few pitfalls. Steer clear of these and your DIY scratching post will turn out great:
- Building it too short. Cats want a full-body stretch, so err on the taller side.
- A flimsy base. A tippy post will scare your cat off for good.
- Loose wrapping. Gaps and slack rope wear out fast and feel unpleasant.
- Wrong placement. A post hidden in a back room won’t get used. Put it where the action is.
Conclusion
A DIY scratching post is one of the most satisfying weekend projects a cat owner can take on. It saves money, protects your furniture, and gives your cat a healthy, instinct-friendly outlet right where they need it. With a few simple materials and the steps above, you can build a customized DIY scratching post your cat will return to again and again. So gather your supplies, get wrapping, and enjoy the purrs that follow. After all, a happy cat is a well-scratched cat.
DIY Scratching Post: Frequently Asked Questions
1. How tall should a DIY scratching post be?
Aim for a DIY scratching post slightly taller than your cat at full vertical stretch, generally between 24 and 32 inches. This lets your cat extend fully, which is a big part of why they scratch in the first place.
2. What is the best rope for a DIY scratching post?
Natural sisal rope is the top choice. It’s durable, has the rough texture cats love, and is safe for their claws. Avoid jute, which frays quickly and won’t last.
3. How much does it cost to make a DIY scratching post?
Most people spend somewhere between $10 and $25, depending on whether they buy the wood and sisal new or use materials already on hand. That’s a fraction of many store-bought models.
4. Can I use carpet instead of sisal rope?
You can, but carpet can confuse cats into thinking other carpet (like your floor) is fair game for scratching. Sisal sends a clearer signal and is generally the better surface for a DIY scratching post.
5. How do I get my cat to use the new scratching post?
Place it where your cat already likes to scratch, rub on a little catnip, attach a toy, and reward your cat whenever they use it. Never force their paws onto it.
6. Why does my cat ignore the scratching post?
Usually it’s the wrong location, the wrong orientation, or a wobbly base. Move it to a high-traffic spot, match the style to how your cat naturally scratches, and make sure it’s stable.
7. How often should I replace the sisal rope?
There’s no fixed schedule; replace it once it looks shredded or loose. Because a DIY scratching post is easy to re-wrap, you can refresh just the rope instead of rebuilding the whole post.
8. Is a DIY scratching post safe for cats?
Yes, as long as you use non-toxic glue, cat-safe sisal, a stable base, and leave no exposed staples or splinters. A careful homemade build is just as safe as a commercial one.
9. What can I use if I don't have a wooden post?
A sturdy cardboard tube, a thick PVC pipe, or stacked corrugated cardboard can all serve as the core. The key is that your DIY scratching post stays firm and doesn’t collapse under pressure.
10. Can I make a DIY scratching post without power tools?
Absolutely. A basic vertical DIY scratching post needs only a hot glue gun, scissors, and sandpaper. Power tools make mounting the base easier, but a heavy pre-cut base and strong adhesive can work in a pinch.